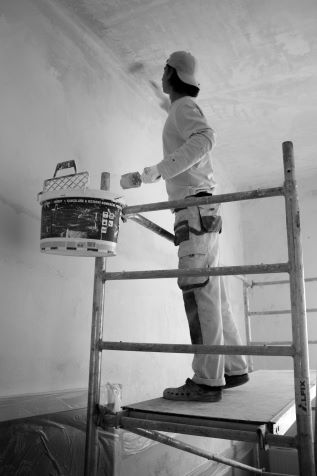
Renovations can breathe new life into a home, transforming spaces and adding value to your property. However, once the last hammer is down and the dust settles, the real work begins: deep cleaning after renovation. Ensuring your home is thoroughly cleaned is crucial to enjoying the results of your hard work. In this guide, we will provide detailed steps and tips to help you achieve a pristine, post-renovation home.
Why Deep Cleaning After Renovation is Essential
Renovations often leave behind a significant amount of dust, debris, and residue that can be harmful to your health and damaging to your newly renovated surfaces. Post-renovation cleaning is not just about aesthetics; it’s about creating a safe and healthy environment. The particles and chemicals left behind can cause respiratory issues, skin irritations, and allergies. Moreover, the remnants of construction can mar the beauty of your new space if not properly addressed.
Step-by-Step Deep Cleaning Process
1. Initial Preparation
Gathering Supplies: Before you start, ensure you have all necessary cleaning supplies. This includes:
- Heavy-duty vacuum cleaner
- Microfiber cloths
- Mops and buckets
- Cleaning solutions (preferably eco-friendly)
- Protective gear (gloves, masks)
Ventilation: Open all windows and doors to ventilate the area and help disperse any lingering dust and fumes.
2. Dusting and Vacuuming
Top-to-Bottom Dusting: Begin by dusting the highest surfaces first, such as ceilings, light fixtures, and crown molding. Work your way down to the walls, windowsills, and baseboards.
Vacuuming All Surfaces: Use a vacuum with a HEPA filter to capture fine dust particles. Vacuum all surfaces, including floors, upholstery, and even walls. Pay special attention to corners and crevices where dust tends to accumulate.
3. Cleaning Walls and Ceilings
Wall Washing: Depending on the type of paint or wallpaper, clean the walls with a damp cloth or sponge. For tougher stains, use a mild detergent solution. Be cautious with wallpaper to avoid damage.
Ceiling Care: Use a long-handled duster or a microfiber mop to gently clean ceilings. For stubborn spots, a sponge with a bit of soap and water can be used.
4. Floor Care
Hardwood and Laminate Floors: Sweep or vacuum the floors first to remove loose debris. Then, mop with a cleaner appropriate for your flooring type. Avoid excessive water to prevent damage.
Carpets and Rugs: Vacuum thoroughly. Consider professional steam cleaning to remove deep-seated dirt and dust.
Tile and Stone Floors: Clean with a pH-neutral cleaner to avoid damaging the surface. Pay special attention to grout lines, which can harbor dust and debris.
5. Window and Glass Cleaning
Window Frames and Sills: Dust and wipe down window frames and sills. Use a toothbrush for hard-to-reach areas.
Glass Cleaning: Use a streak-free glass cleaner or a vinegar-water solution to clean windows and glass surfaces. Wipe with a microfiber cloth for a spotless finish.
6. Cleaning Fixtures and Appliances
Light Fixtures and Fans: Dust light fixtures and ceiling fans. For stubborn grime, a damp cloth with a mild cleaner can be used.
Kitchen Appliances: Clean inside and outside of all kitchen appliances. Pay special attention to areas that might have collected dust during renovation, like the tops of refrigerators and ovens.
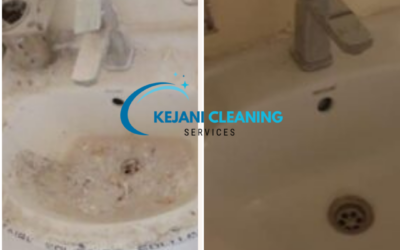
Bathroom Fixtures: Clean sinks, bathtubs, and toilets with appropriate cleaners. Don’t forget to sanitize handles and knobs.
7. Final Touches
Air Vents and Ducts: Dust and vacuum air vents. Consider having your ducts professionally cleaned if they were exposed to significant renovation debris.
Decorative Elements: Dust and clean all decorative elements, including furniture, picture frames, and decorative items.
Floor Mats and Carpets: Shake out and vacuum all floor mats and rugs. Wash them if necessary.
Deep Cleaning Tips for a Thorough Job
Using the Right Tools: Invest in high-quality cleaning tools. A HEPA vacuum, microfiber cloths, and effective cleaning solutions can make a significant difference.
Protective Gear: Always wear gloves and a mask to protect yourself from dust and cleaning chemicals.
Room-by-Room Approach: Tackle one room at a time to stay organized and ensure no area is overlooked.
Professional Help: For particularly extensive renovations or difficult-to-clean areas, consider hiring professional cleaners.
Maintaining Cleanliness Post-Renovation
Regular Cleaning Schedule: Establish a regular cleaning schedule to maintain your newly cleaned space. Frequent dusting and vacuuming can help keep your home pristine.
Air Purifiers: Use air purifiers to help reduce dust and improve air quality in your home.
Entryway Mats: Place mats at all entrances to reduce the amount of dirt tracked into your home.
Educate Household Members: Ensure everyone in the household understands the importance of keeping the space clean and pitches in to maintain it.
Conclusion
Deep cleaning after a renovation is a crucial step to fully enjoy and preserve the beauty of your newly renovated home. By following this comprehensive guide, you can ensure that every nook and cranny is spotless, providing a safe and inviting environment for you and your family.


0 Comments