Introduction
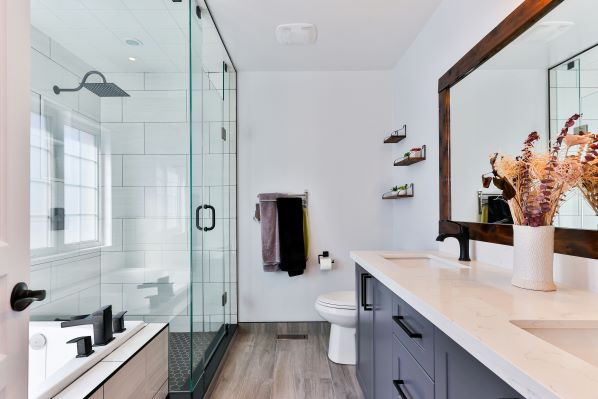
Embarking on the journey of transforming your bathroom into a sanctuary of cleanliness and comfort after enduring the chaos of construction is a rewarding endeavor. This comprehensive guide delves into every aspect of the post-construction cleanup process, providing in-depth steps and tips to ensure your bathroom shines with pristine sanitation. From clearing away debris to rejuvenating fixtures and surfaces, we’ll explore how to achieve the ultimate bathroom bliss.
Step 1: Clearing Debris
The initial step in the restoration process involves clearing the aftermath of construction debris. Sweep or vacuum the floors meticulously to eliminate dust, dirt, and remnants such as drywall fragments or tile scraps. A damp cloth should be used to wipe down surfaces, ensuring the removal of any lingering particles. This thorough cleanup not only sets the stage for a clean slate but also prevents the spread of dust during subsequent cleaning steps.
Step 2: Deep Cleaning Fixtures and Surfaces
With the debris cleared, attention turns to deep cleaning fixtures and surfaces. Begin with the toilet, utilizing a disinfectant cleaner to thoroughly scrub both the bowl and exterior. Paying special attention to crevices and hard-to-reach areas ensures the elimination of stubborn grime. For sinks, countertops, and shower/tub surfaces, choose an appropriate cleaner based on the material. Non-abrasive cleaners work well for delicate surfaces like marble, while soap scum removers are effective for glass. Don’t overlook faucets, handles, and showerheads, as they contribute to the overall cleanliness and shine of the bathroom.
Step 3: Grout and Tile Revival
Grout and tile often bear the brunt of construction-related dirt and grime. Reviving these surfaces is crucial for achieving a sparkling bathroom. Employ a grout brush to scrub grout lines and use a grout cleaner for stubborn stains. Tiles benefit from a thorough cleaning with a suitable tile cleaner or a mixture of water and vinegar. Consider resealing grout lines to provide added protection and extend their lifespan. This step not only enhances the aesthetic appeal of your bathroom but also contributes to the longevity of the tile surfaces.
Step 4: Freshening Up Walls and Ceilings
Walls and ceilings, often overlooked during construction, require careful attention during the cleanup process. Wipe down these surfaces with a mild detergent solution to eliminate any remaining dust or residue. Focus on corners and edges where dirt tends to accumulate. For painted surfaces, touch up scuffs or marks with matching paint to restore a uniform appearance. If wallpaper adorns your bathroom walls, gently wipe it down with a damp cloth, taking care not to damage the paper. This step ensures that every inch of your bathroom reflects the cleanliness and freshness you desire.
Step 5: Ventilation and Odor Control
Proper ventilation is essential for maintaining a fresh and healthy bathroom environment. Ensure that exhaust fans are functioning correctly to expel moisture and prevent mold growth. Consider using air purifiers or odor-neutralizing products to eliminate any lingering construction odors. By focusing on ventilation and odor control, you create an environment that not only looks clean but also feels and smells fresh, enhancing the overall bathroom experience.
Step 6: Finishing Touches
Once the meticulous cleaning is complete, it’s time to add the finishing touches that elevate your bathroom to a state of blissful tranquility. Place fresh towels, decorative accents, and aromatic candles or diffusers strategically to create a welcoming atmosphere. Consider installing organizers or storage solutions to keep clutter at bay, ensuring your efforts in maintaining cleanliness are sustained. These final touches personalize your bathroom space, making it a place of retreat and relaxation.
Conclusion
In conclusion, by following these comprehensive steps and tips, you can transform your post-construction bathroom into a sparkling sanctuary. Dedicate time and effort to thorough cleaning and maintenance, and you’ll be rewarded with a rejuvenated space where you can unwind and revel in the blissful tranquility of a meticulously clean bathroom.


0 Comments