Introduction
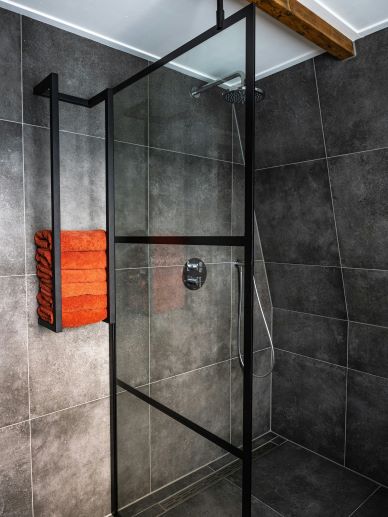
Post-construction cleanup is a critical step to ensure that newly installed tiles look their best. Dust, grout residue, and construction debris can mar the appearance of your tiles, making them look dull and unappealing. Here, we provide a comprehensive guide on how to clean tiles after construction, ensuring they retain their pristine condition and shine.
Preparing for the Cleaning Process
Gather the Necessary Cleaning Supplies
To effectively clean your tiles after construction, you will need the following supplies:
- Soft-bristle broom or vacuum cleaner
- Mop and bucket
- Microfiber cloths or soft rags
- Mild detergent or pH-neutral tile cleaner
- Grout haze remover (if necessary)
- Scrub brush or non-abrasive sponge
- Protective gloves
Initial Cleaning Steps
Before delving into the deep cleaning, it is essential to remove the larger debris and dust:
- Sweep or Vacuum the Floor: Use a soft-bristle broom or a vacuum cleaner to remove loose dust, dirt, and debris from the tile surface.
- Wipe Down the Surface: With a damp microfiber cloth, wipe the surface of the tiles to remove any remaining dust.
Deep Cleaning of Tiles
Cleaning Grout Haze
One of the common issues after tile installation is grout haze, which is a thin layer of grout residue left on the surface of the tiles.
- Choose the Right Cleaner: Use a commercial grout haze remover or a mixture of water and vinegar (1:1 ratio). Avoid acidic cleaners if your tiles are made of natural stone.
- Apply the Cleaner: Apply the cleaner to the affected area using a mop or a soft cloth.
- Scrub the Tiles: Gently scrub the tiles with a non-abrasive sponge or scrub brush.
- Rinse Thoroughly: Rinse the tiles with clean water to remove any residue from the cleaning solution.
- Dry the Surface: Dry the tiles with a clean microfiber cloth to prevent water spots.
Removing Stubborn Stains and Adhesive Residue
Post-construction tiles can often have stubborn stains or adhesive residue that need special attention.
- Identify the Stain: Determine the type of stain or residue. This can include paint, adhesive, or even rust.
- Use Appropriate Remover: For adhesive residue, use a commercial adhesive remover. For paint, use a mild solvent. Always test in a small, inconspicuous area first.
- Apply and Wait: Apply the remover and let it sit for the recommended amount of time.
- Scrub and Clean: Use a soft brush or sponge to scrub the stain, then clean the area with a mild detergent solution.
- Rinse and Dry: Rinse thoroughly with clean water and dry the tiles with a microfiber cloth.
Polishing and Sealing Tiles
Polishing for Extra Shine
Polishing your tiles can enhance their appearance and make them look as good as new.
- Choose a Suitable Polish: Select a polish appropriate for your tile type. Natural stones may require special polishes.
- Apply the Polish: Follow the manufacturer’s instructions to apply the polish. This typically involves spreading a thin layer over the tiles.
- Buff the Tiles: Use a soft cloth or a buffing machine to buff the tiles to a shine.
Sealing Grout Lines
Sealing the grout lines can protect them from stains and make future cleaning easier.
- Select a Grout Sealer: Choose a penetrating grout sealer that is appropriate for your tile and grout type.
- Apply the Sealer: Apply the sealer along the grout lines using a small brush.
- Wipe Excess Sealer: Immediately wipe any excess sealer from the tiles with a clean cloth.
- Allow to Cure: Let the sealer cure according to the manufacturer’s instructions before using the area.
Routine Maintenance Tips
Regular Cleaning
Keeping your tiles clean on a regular basis will maintain their appearance and prolong their life.
- Sweep or Vacuum Daily: Regularly remove dust and dirt with a broom or vacuum cleaner.
- Mop Weekly: Use a mild detergent or a pH-neutral cleaner to mop the tiles weekly.
- Spot Clean Spills: Immediately clean any spills to prevent staining.
Avoid Harsh Chemicals
Using the wrong cleaning products can damage your tiles.
- Read Labels: Always read the labels of cleaning products to ensure they are safe for your tile type.
- Test First: Test any new cleaning product in an inconspicuous area first.
Protective Measures
Taking a few preventative steps can keep your tiles looking new for longer.
- Use Mats and Rugs: Place mats at entryways to reduce dirt tracked onto the tiles.
- Felt Pads on Furniture: Attach felt pads to the bottom of furniture legs to prevent scratches.
Conclusion
Properly cleaning tiles after construction is crucial to preserve their beauty and functionality. By following these detailed steps, you can ensure your tiles remain in pristine condition. Regular maintenance and the right cleaning products will keep your tiles looking new for years to come.


0 Comments